PAINT COLOR SANDING
Paint color sanding is a confusing term to many people. I will do my best to offer the insight to the following:
* What this process is
* Why would you use this process
* Pictures showing the actual process
What is Paint Color Sanding?
This is called color sanding because you are sanding and working on the top surface of the paint itself. When it comes to traditional paint and body, the sanding and prep work is done on what is called the base coat, or primer coat.
When painting a car, you prepare the surface of the car first, through multiple layers of primer. These layers are sprayed on, then sanded to cover up every flaw in the paint.
When a car has already been painted, then you can't go under the paint and try to fix any problems. So this process is not used to correct poor body work or blemishes underneath the color, or top coat.
What is this Process Used For?
There are many problems that a painted surface may have that can be corrected through the process of color sanding:
* Scratches
* Spider webbing
* Orange peel texture
Paint color sanding is a process for paint correction that is the most aggressive form of paint correction; aside from simply repainting a car.
Simply put, the flatter, and less scratches in the paint, the better it will look when it is waxed. The goal is to create the flattest and smoothest surface, to create a surface that will reflect the light without interference of blemishes.
The Magic of Paint Color Sanding
So, through the process of color sanding, we can literally sand the surface of the paint to create a completely flat, and scratch free surface.
The shot above is the sandpaper that can be used and is also called wet and dry because typically the sanding process is done while wet. Also note that we are talking a very fine grit of 2000 here. Typically you can start with 800 grit, move up and through the different grits to finish with 1500 to 2000.
This all depends on just how aggressive you need to go to fix whatever problem you are trying to fix.
The Prep work
Let me take you through some of the prep work steps:
* Sand paint to level 1500 or 2000 grit paper
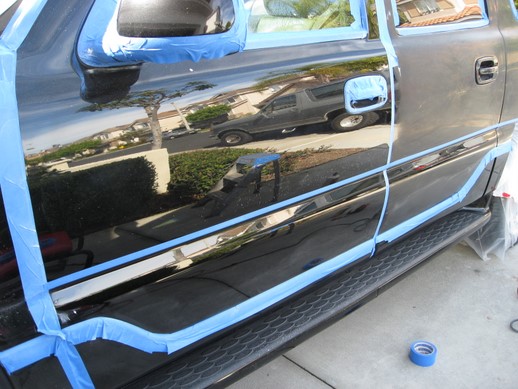
* Tape off areas that need protection from the high speed buffer
* Polish the sanded areas graduating from heavy polish to fine polish
 |
 |
|---|---|
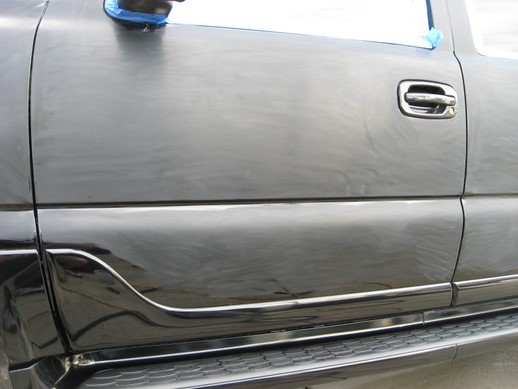
Above is the door showing how paint looks after sanding, |
Above shows the process of polishing one panel at a time, |
 |
 |
|---|---|
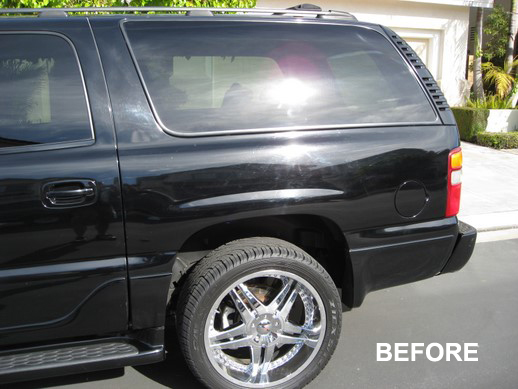
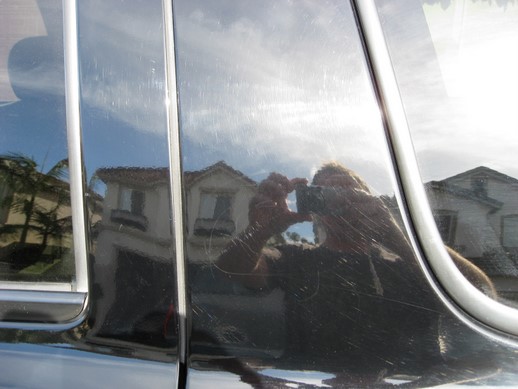
The rear panel before showing plenty of that "spider-webbing" effect |
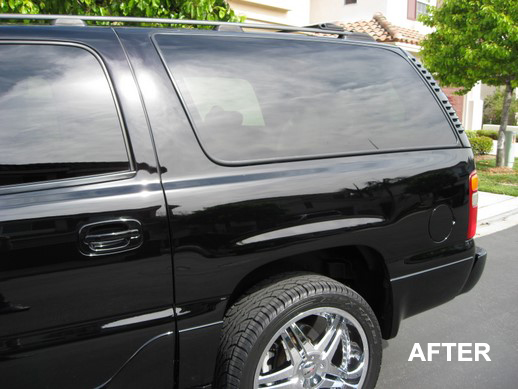
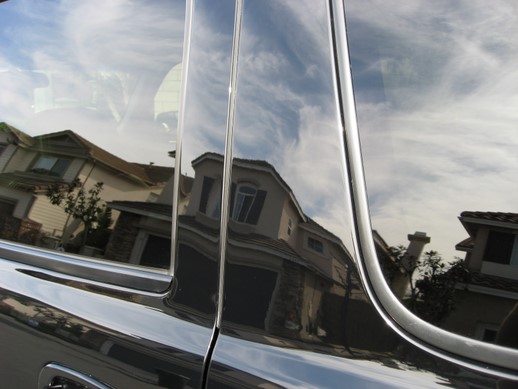
The rear panel after the color sanding process showing true perfection |
 |
 |
|---|---|
and some serious deep scratches |
Above is the same C-Pillar without spider-webbing |
 |
|---|
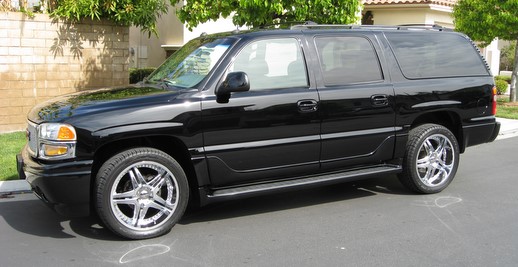
The results are nothing less than spectacular!
Please call for a free quote!


*Coupon Restrictions:
Must mention coupon when
making appointment. Only applies
to full priced services and no
additional discount.
|
Home | Services | Service Area | Appointments | Coupons | Gallery | About Us | Contact | Learn More © 2010 Mobile Detailing Solutions |